Aster Growing Guide
Aster is a great next step in your growing journey. Follow this guide from planting to harvest and you'll do great.
At a Glance
Difficulty
Moderate
Category
Flower
Sun Exposure
Full Sun, Partial Sun
Frost Tolerance
Frost Hardy
Cold Hardiness
Survives to -34°C
Plant Family
Asteraceae
Growing Season
Cool Season
Plant Lifecycle
Perennial
Also grows well as
How to Start It
★ Recommended for beginners
Lift and split the clump in spring every 2–3 years, replanting the vigorous outer pieces — essential for health and free plants.
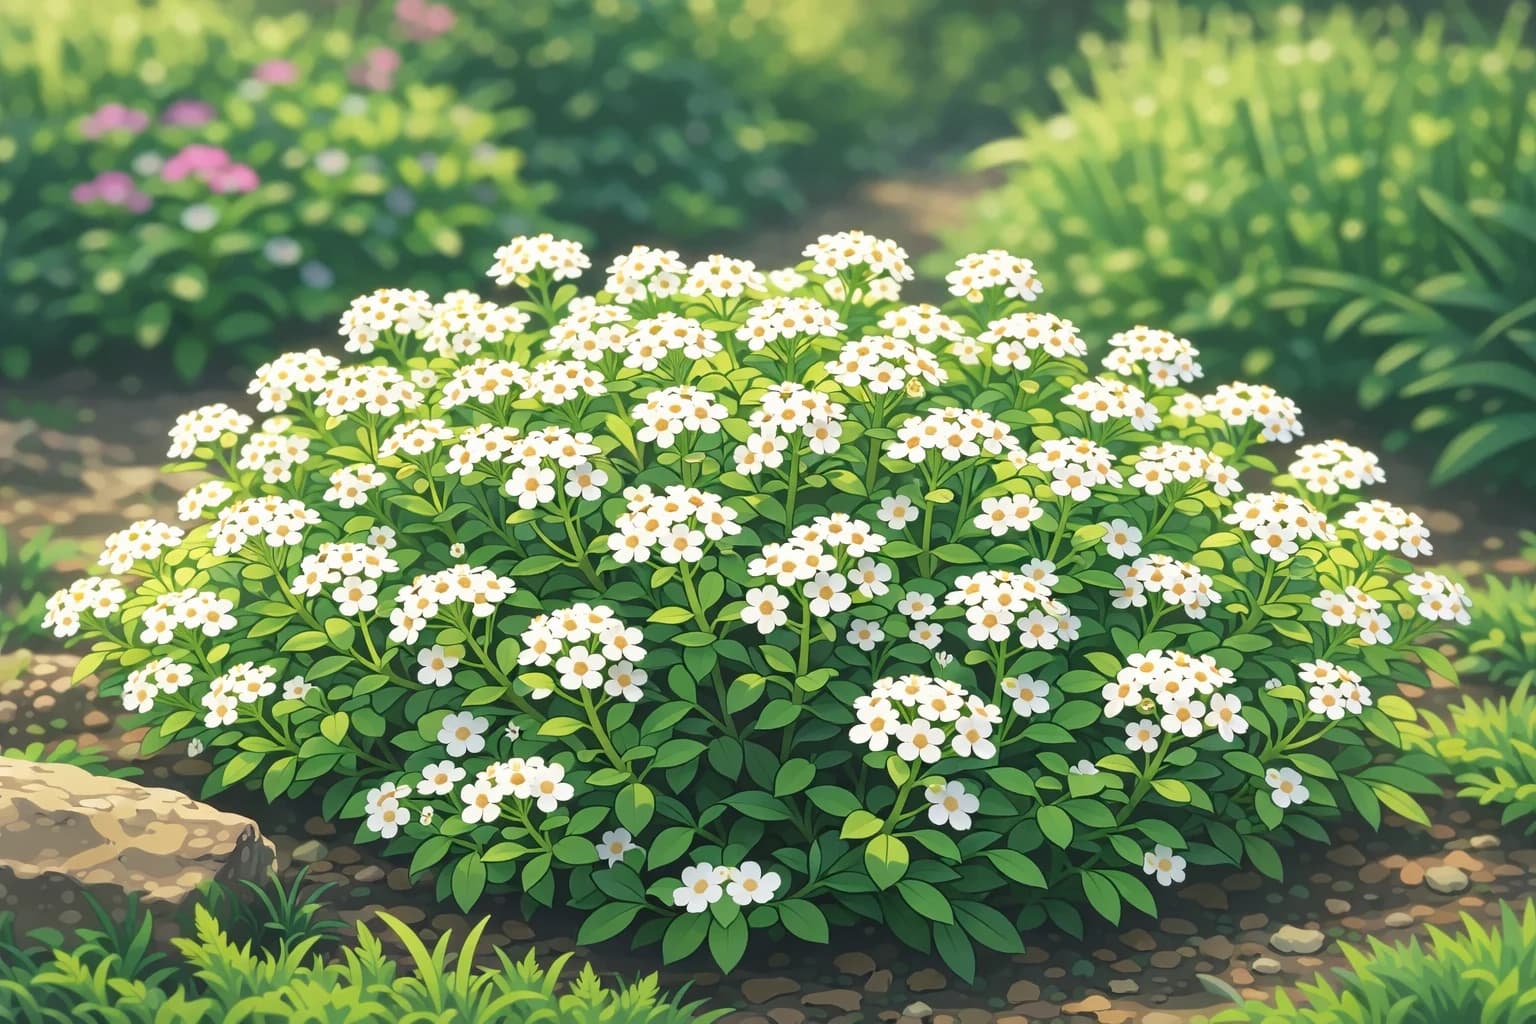
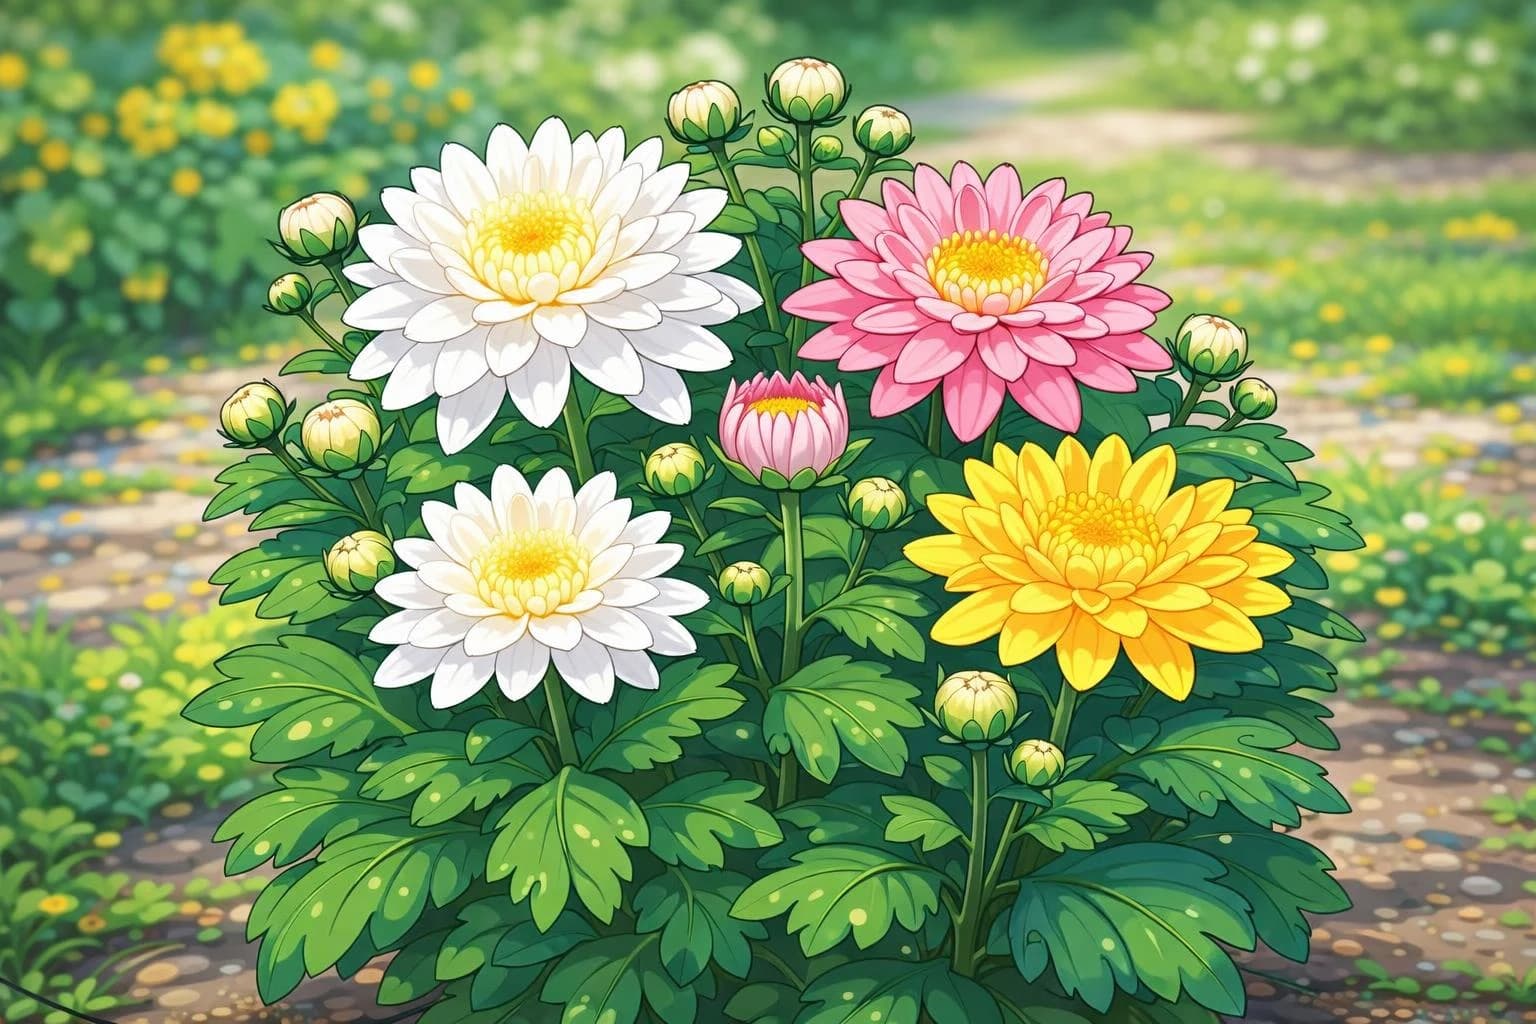
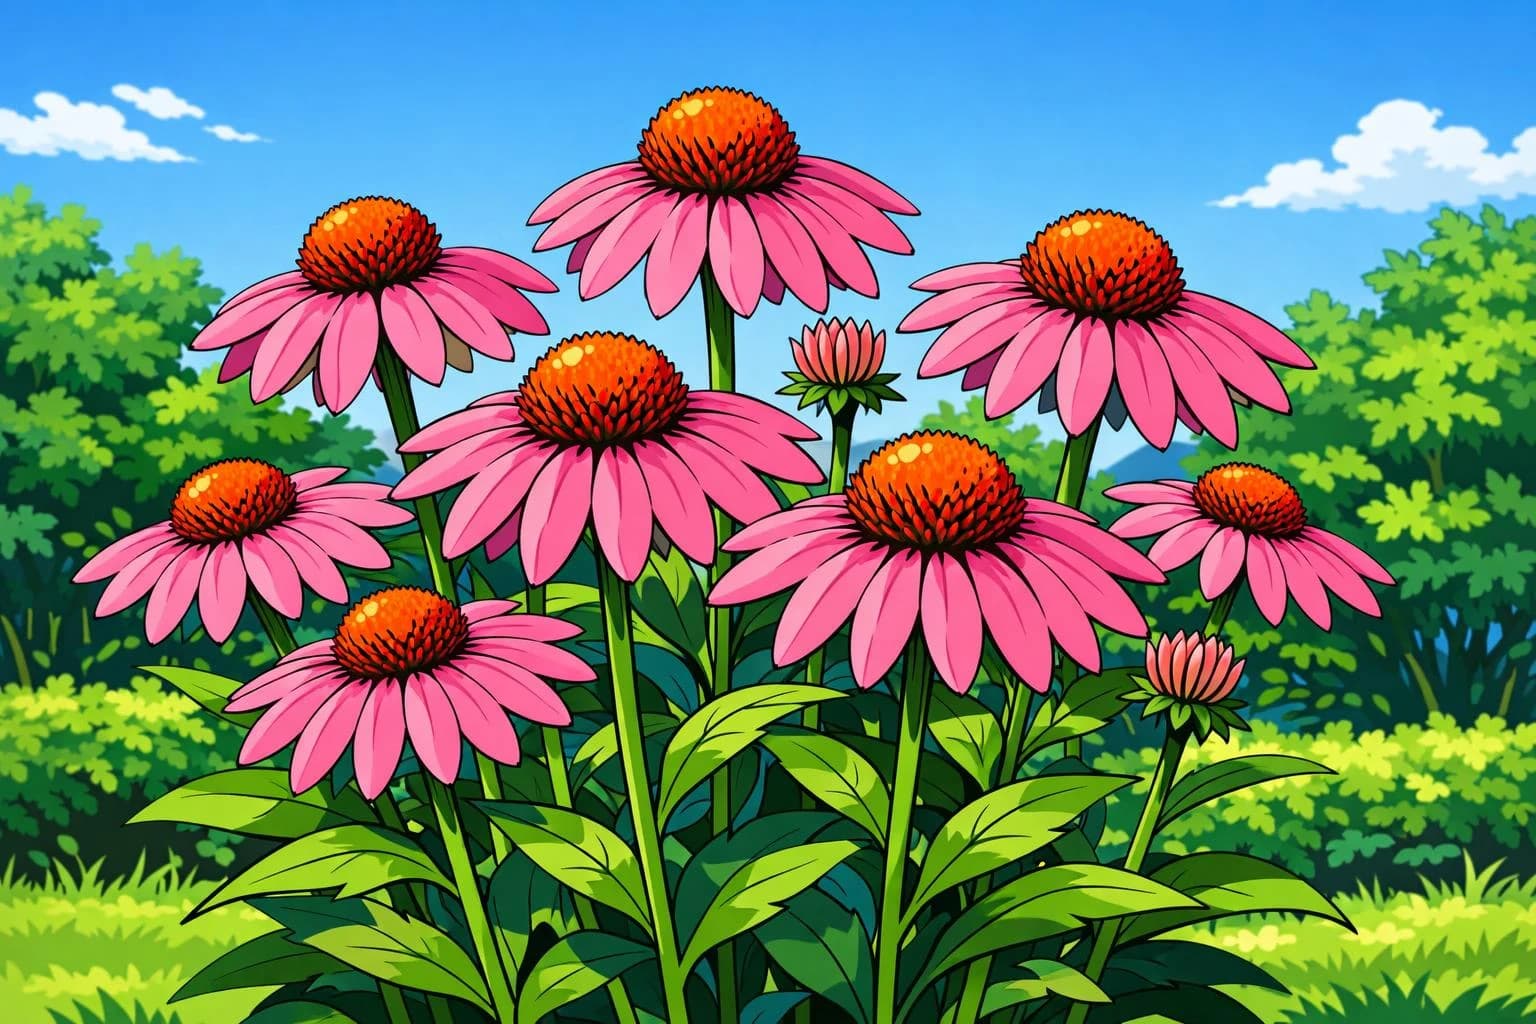
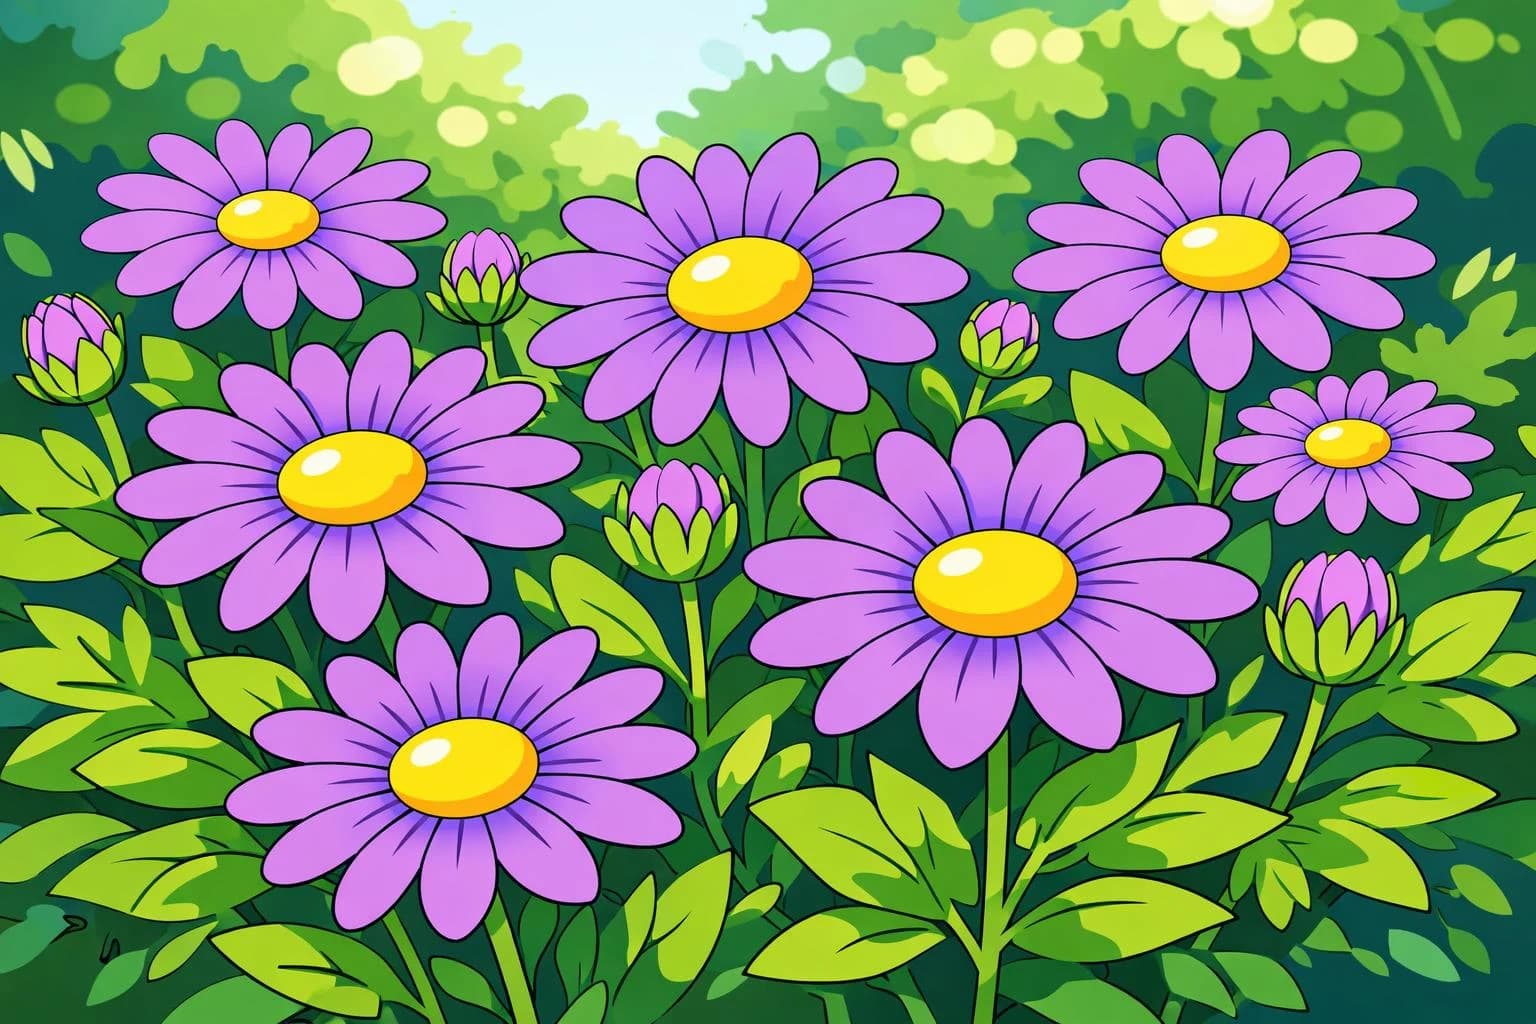
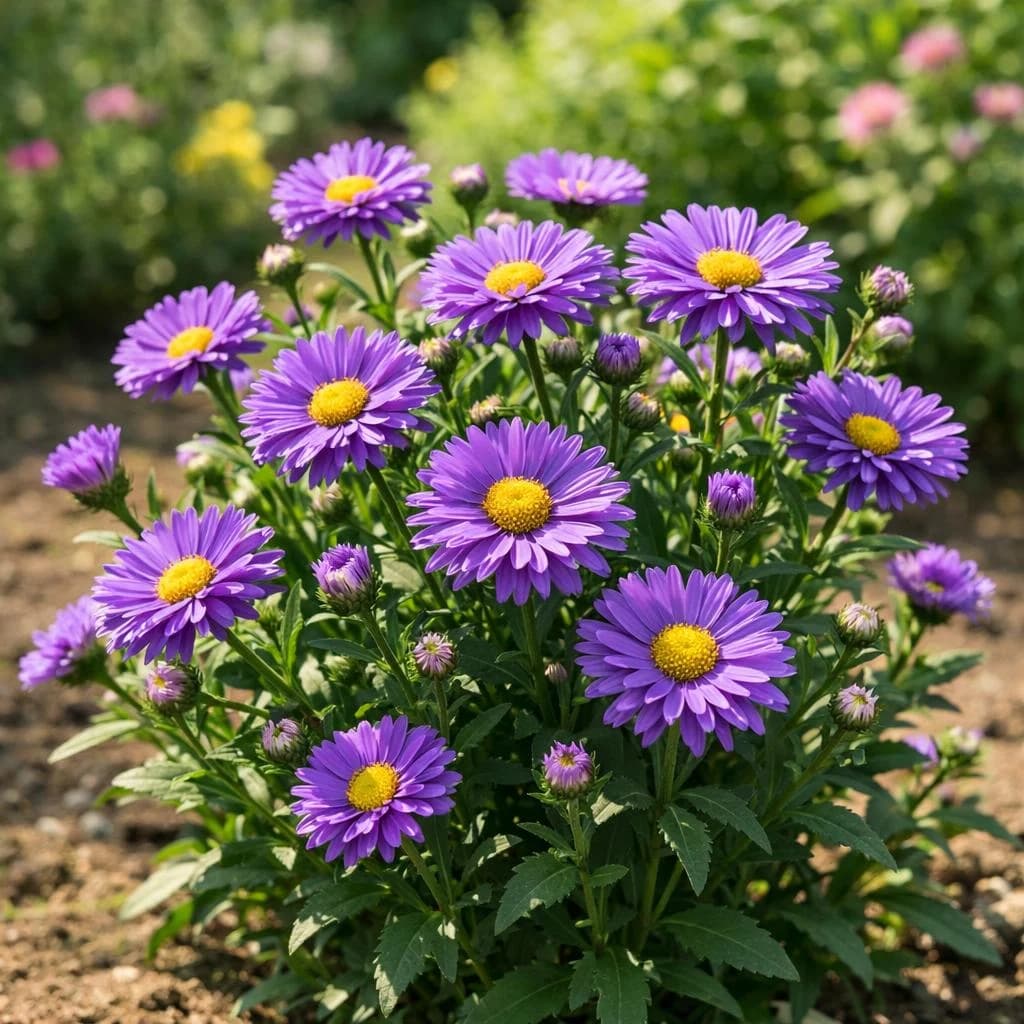
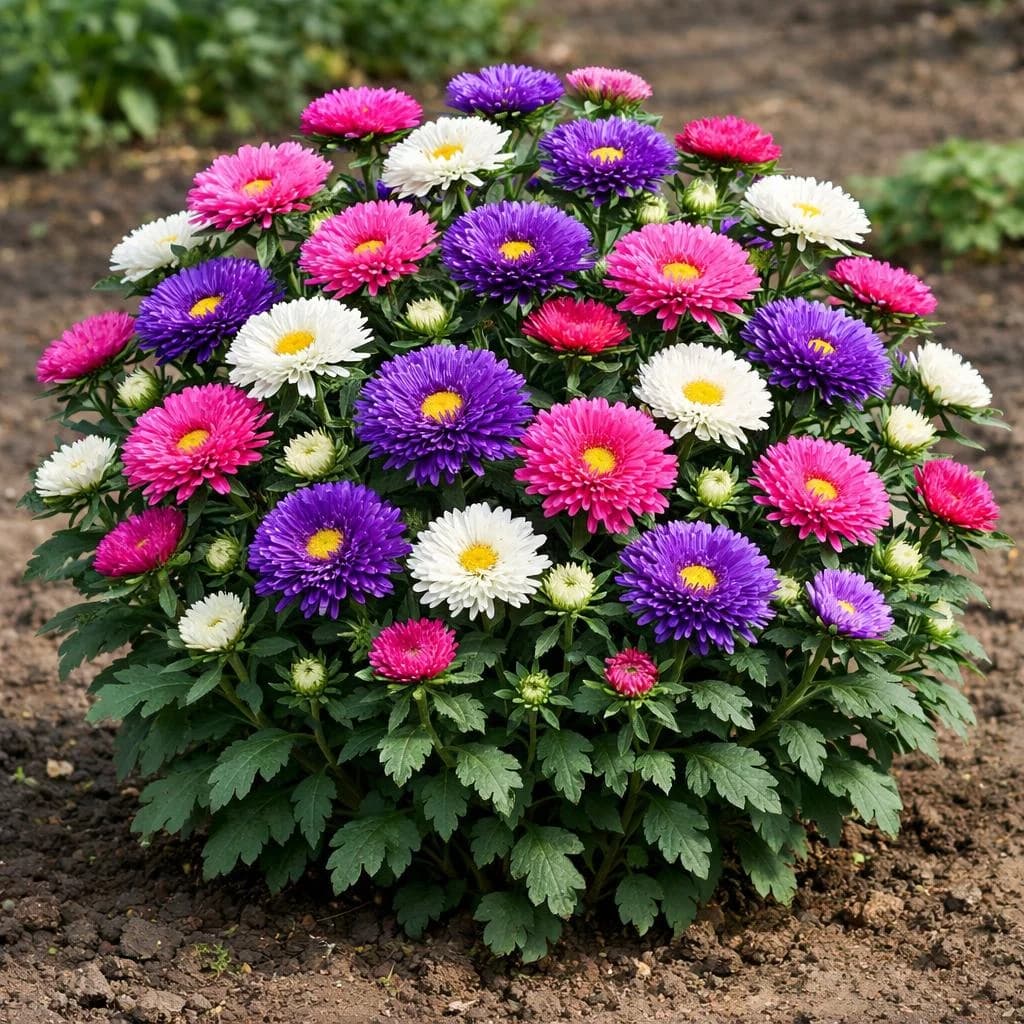
Asters (including Michaelmas daisies) carry the border into autumn with clouds of starry, pollinator-friendly daisies. The key to healthy plants is regular DIVISION — split them every 2–3 years in spring, as old congested clumps get woody, shy, and prone to powdery mildew. Give full sun and good airflow (and don't let them dry out) to keep mildew at bay. Taller types may need support.
When To Start
First Chance to Plant
7 Days After Last Frost
Last Chance to Plant
30 Days Before First Frost
When should you plant Aster?
Your planting dates depend on your local climate. Sign up and add your location to unlock personalized dates.
Your Aster Planting Window
Start planting
May 15, 2026
Last chance
Sep 10, 2026
Your Aster Calendar
Set your location to turn these into exact dates and reminders.
Plant / divide asters in spring (every 2–3 years)
Around your last frost· every year
Cut / enjoy asters in autumn
45 days before your first frost· every year· optional
The Journey Ahead
Aster's Lifecycle
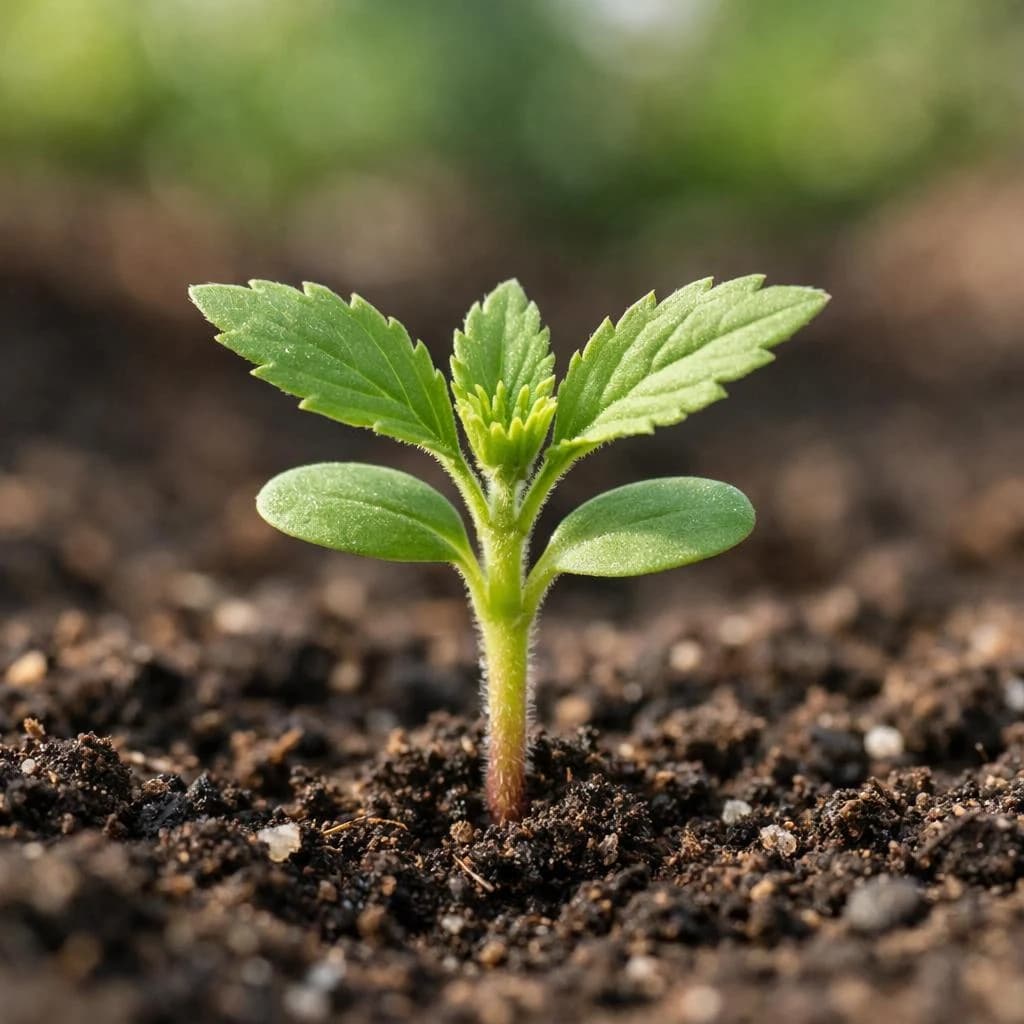
Seedling
Mature Plant
Seed Production
Step 2
Planting & Sprouting
Expect sprouts in 7–14 days
Growing Tips
- 1Plant asters in a spot where they can get full sun for at least 6 hours a day.
- 2Water them regularly, keeping the soil consistently moist but not waterlogged.
- 3Use well-draining soil enriched with compost, and space the plants about 1 to 3 feet apart to ensure good air circulation, which helps prevent powdery mildew.
Seedling Phase
Step 3
Growth & Maturity
~90
Days to Maturity
60 cm
Mature Height
60 cm
Mature Width
Pests to Watch For
Diseases to Watch For
Mature Plant
Step 4
Harvesting
Harvest Window
30 days
When to Pick
Cut flowers at peak bloom
How to Harvest
- 1Harvest Aster flowers when they are fully open but before they start to wilt.
- 2Use sharp scissors or pruning shears to cut the stems at an angle, about 6 inches from the base, to encourage regrowth.
- 3Avoid pulling the stems to prevent damaging the plant.
Step 5
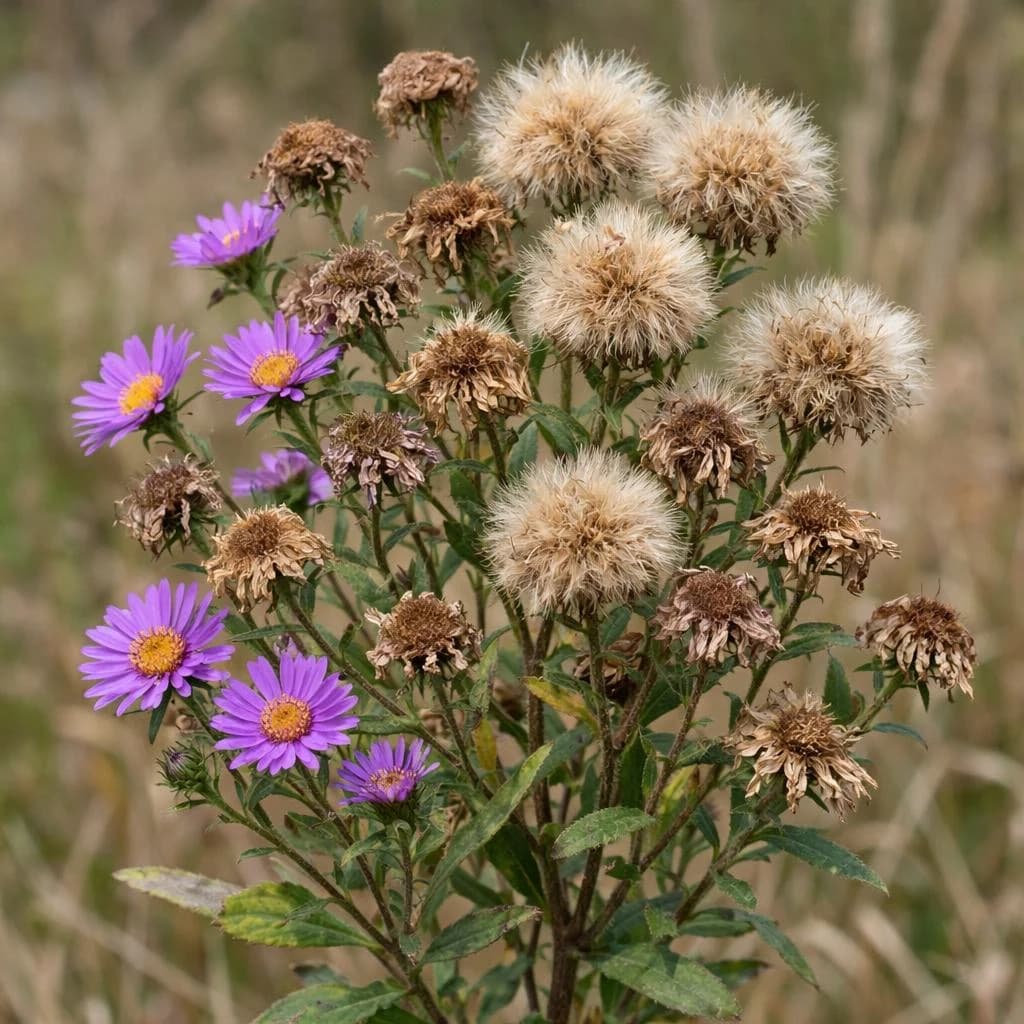
Saving Seeds
How to Save Seeds
Saving seeds from your Aster plant is a simple and rewarding process that any new grower can master! Once the flowers have faded and the seed heads turn brown and dry, gently snip them off and place them in a paper bag to finish drying for a week or two. Then, simply rub the seed heads between your fingers to release the small seeds. Store your collected seeds in a labeled envelope or small jar, and keep them in a cool, dry place until you’re ready to plant next season. With just a little effort, you’ll have your own homegrown Aster seeds ready to grow and share—saving seeds is a wonderful way to continue your gardening journey!
Seed Production
Ready to grow this?
Get started with Limitless Growth.
Save this guide, see exactly when to plant aster where you grow, and start the 5-step course we wrote for first-time growers.
Get started →