Yellow Clover Growing Guide
Growing Yellow Clover is easier than you think. This guide walks you through everything you need — from planting your first seed to harvesting.
At a Glance
Difficulty
Easy
Category
Cover Crop
Sun Exposure
Full Sun, Partial Sun
Frost Tolerance
Frost Hardy
Cold Hardiness
Survives to -23°C
Plant Family
Fabaceae
Growing Season
Cool Season
Plant Lifecycle
Annual
Also grows well as
How to Start It
★ Recommended for beginners
Scatter seed onto raked soil in spring or late summer and rake in — it establishes readily and needs no care.
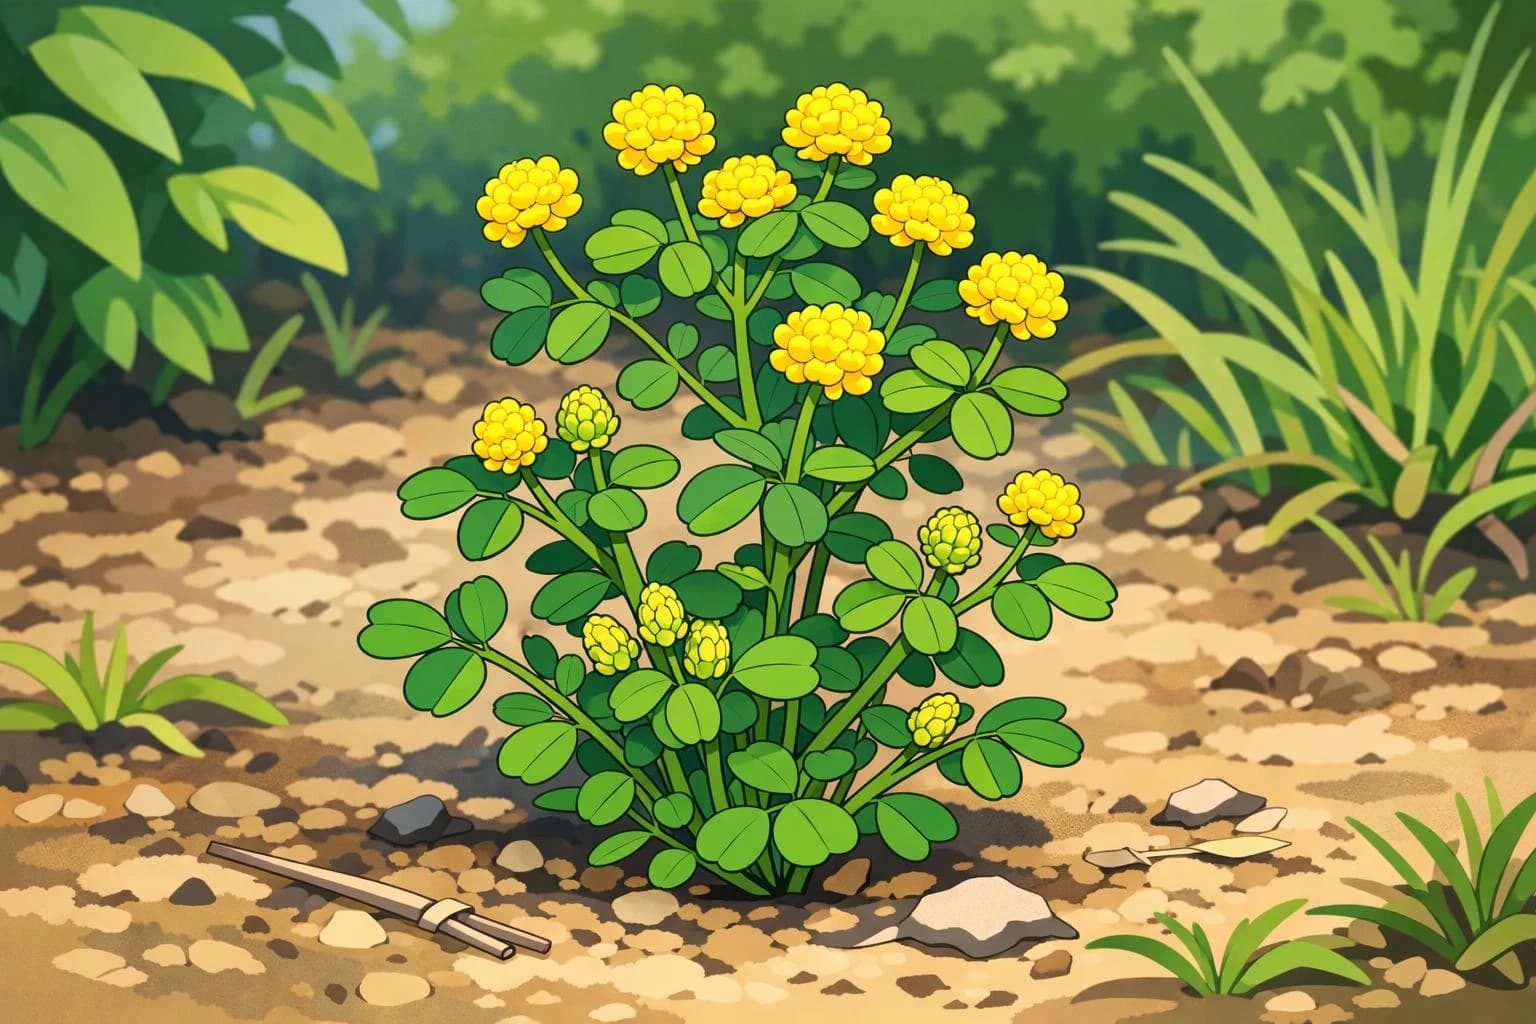
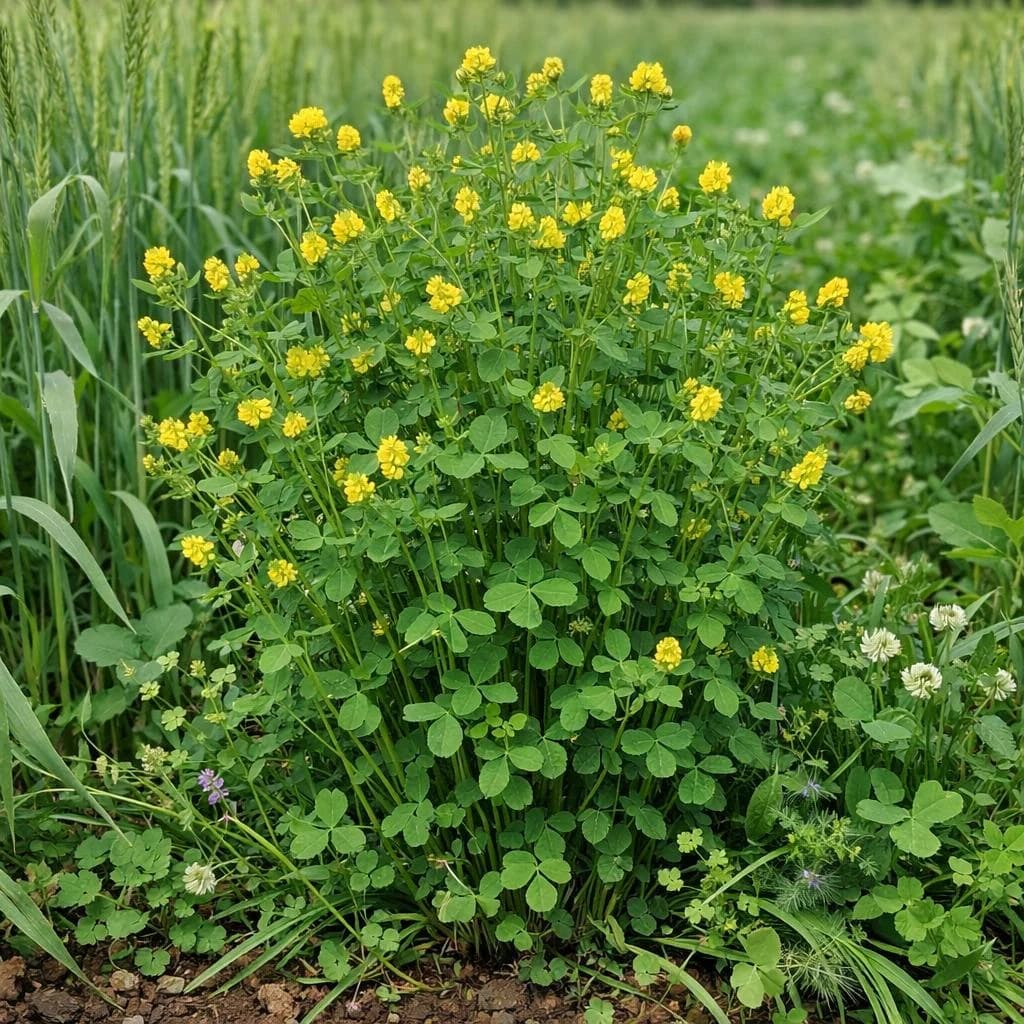
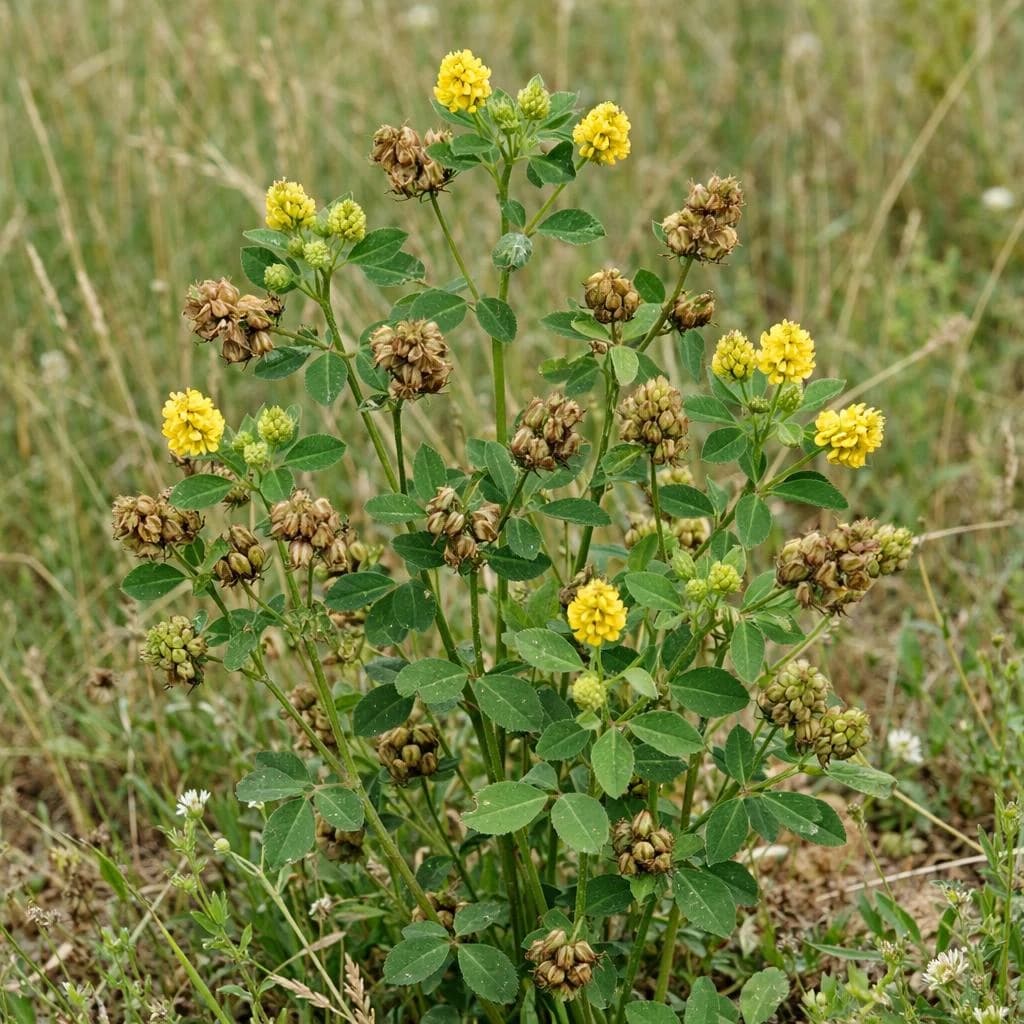
Yellow sweet clover is a vigorous, deep-taprooted legume cover crop: it fixes nitrogen, mines nutrients from deep down, breaks up compacted subsoil, and is an outstanding bee plant (richly honey-scented in flower). Broadcast it as a green manure; cut and dig it in before it sets seed, or leave it for the pollinators. Tolerates poor, dry, even alkaline ground.
When To Start
First Chance to Plant
30 Days Before Last Frost
Last Chance to Plant
60 Days Before First Frost
When should you plant Yellow Clover?
Your planting dates depend on your local climate. Sign up and add your location to unlock personalized dates.
Your Yellow Clover Planting Window
Start planting
May 15, 2026
Last chance
Sep 10, 2026
Your Yellow Clover Calendar
Set your location to turn these into exact dates and reminders.
Broadcast yellow sweet clover (cover crop / bee plant)
Around your last frost· every year
Cut & dig in yellow clover before it seeds (or leave for bees)
90 days after your last frost· every year· optional
The Journey Ahead
Yellow Clover's Lifecycle
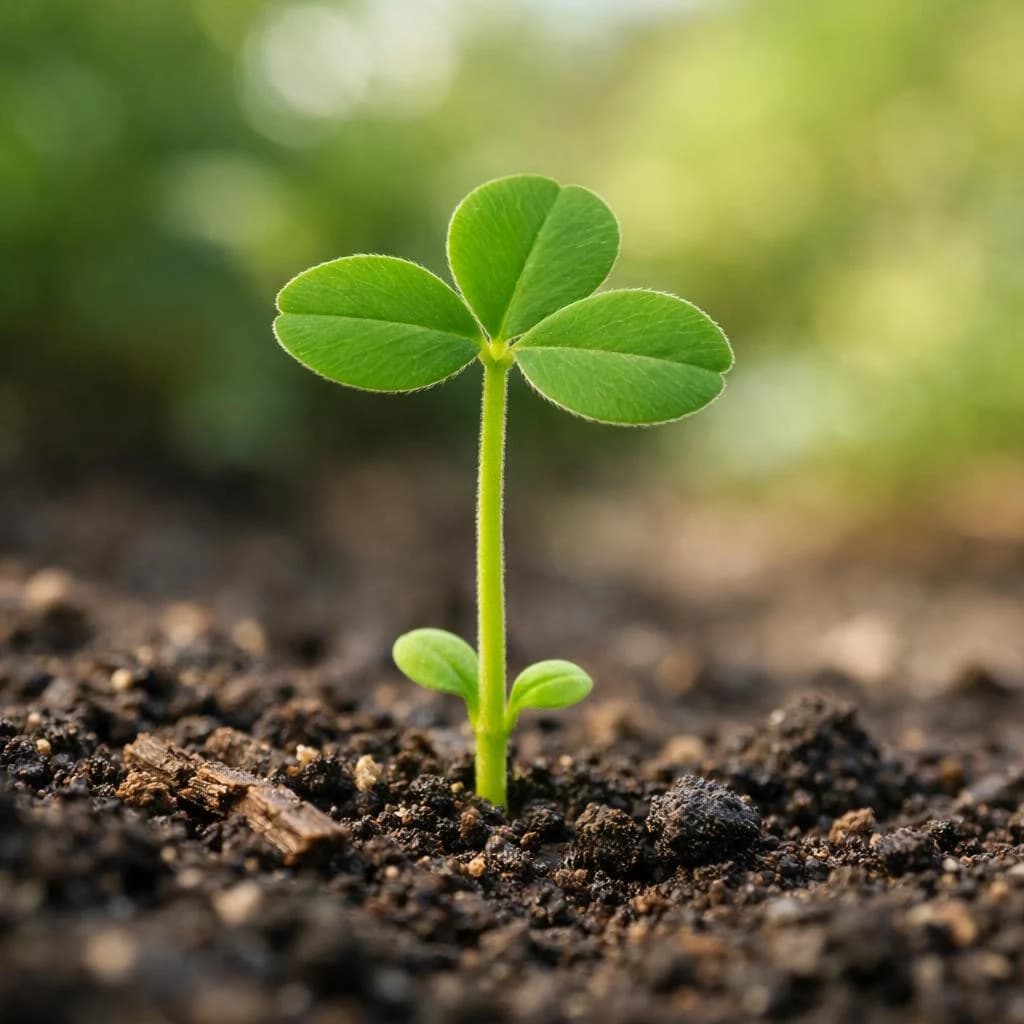
Seedling
Mature Plant
Seed Production
Step 1
Prepare Your Space
1 cm
Seeding Depth
30 cm
Plant Spacing
30 cm
Row Spacing
1
Plants / Sq Ft
Vertical Growing
Yes – Trellis.
Method: Trellis.
Succession Planting
Yes.
Good Companions
Bad Companions
Step 2
Planting & Sprouting
Expect sprouts in 3–7 days
Growing Tips
- 1Yellow Clover thrives in full sunlight, so choose a spot in your garden that gets plenty of direct sun.
- 2It prefers well-drained soil, so ensure your garden bed has good drainage to prevent waterlogging.
- 3Water the plants moderately, allowing the soil to dry out slightly between waterings.
- 4To prevent pests, encourage beneficial insects like ladybugs and avoid over-fertilizing, which can attract unwanted pests.
Seedling Phase
Step 3
Growth & Maturity
~60
Days to Maturity
30 cm
Mature Height
30 cm
Mature Width
Pests to Watch For
Diseases to Watch For
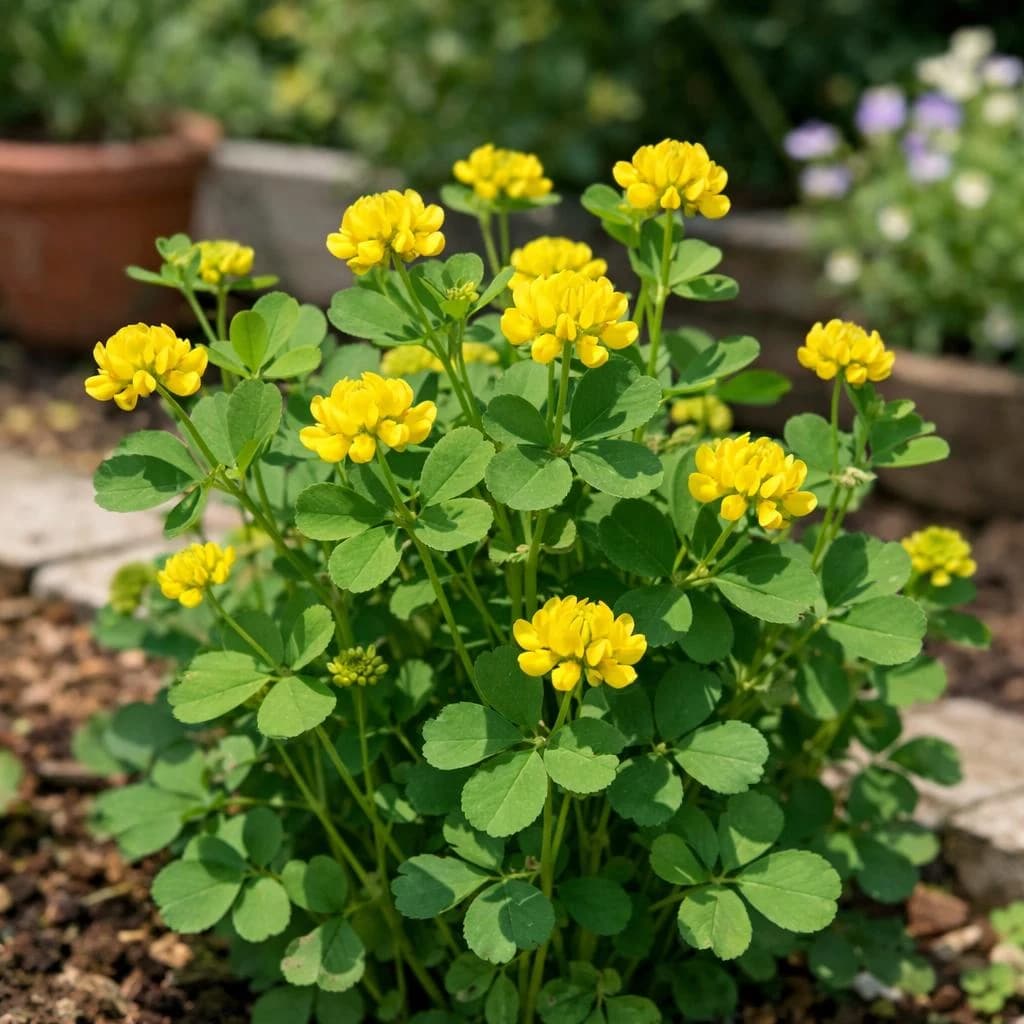
Mature Plant
Step 4
Harvesting
Harvest Window
30 days
When to Pick
Harvest tops or mow when flowers appear
How to Harvest
- 1Harvest Yellow Clover when it is in full bloom, typically in late spring to early summer.
- 2Use sharp scissors or pruning shears to cut the stems about 2-3 inches above the ground, ensuring not to pull the plant to avoid damaging the roots.
- 3Leave some flowers on the plant to allow it to reseed naturally.
Step 5
Saving Seeds
How to Save Seeds
Saving seeds from your Yellow Clover plant is simple and rewarding! Once the flowers have faded and the seed pods turn brown and dry on the plant, gently collect the pods and place them in a paper bag. Give the bag a gentle shake to release the seeds, then remove any leftover plant material. Let the seeds air dry for a few days in a cool, dry spot, and you’re ready to store them! Keep your seeds in a labeled envelope or jar in a cool, dark place until you’re ready to plant again. With just a little care, you’ll have your own homegrown Yellow Clover seeds for next season—anyone can do it!
Seed Production
Ready to grow this?
Get started with Limitless Growth.
Save this guide, see exactly when to plant yellow clover where you grow, and start the 5-step course we wrote for first-time growers.
Get started →